1map enables users to create and edit their spatial and attribute information online, streamlining your workflow and improving the currency of your organisation's visual information platform.
Enter Spatial Edit Mode
Take Note: Editing is only available in certain layers, and only for authorized users. To experiment with 1map’s online editing functionality, the 1map Sandbox layers have been made available for all users. Find a note about Sandbox here. (Sandbox was previously referred to as "Playground").
- Ensure that the layer that you want to edit in is active (The circle next to the layer name should be green).

- Enter Spatial Edit Mode by clicking on the button in the left vertical menu bar.

Creating Spatial Objects
Points
- Enter Spatial Edit Mode.

- Click on the “Add a Point” button.

- Click on the location where you want a point created.
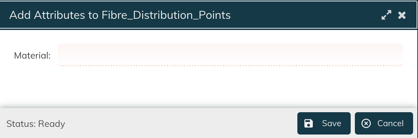
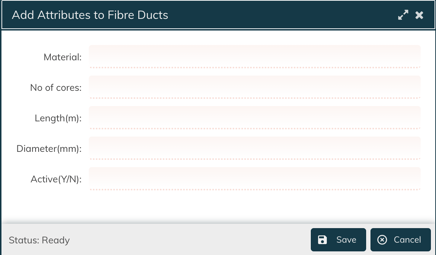
- A window pops up. Complete the relevant attribute information fields, and click Save.
- Once you are finished editing, save your spatial edits by clicking on the “Save Changes” button.

- To discard your spatial edits, click on the “Cancel Spatial Edit Mode” button. This will exit spatial edit mode and discard all changes.

Lines
- Enter Spatial Edit Mode.
- Click on the “Add a Line” button.

- Draw the line by clicking to place nodes on the line. To end off the line, double click on the last node that you want to place.
- A window pops up. Complete the relevant attribute information fields, and click Save.
- Once you are finished editing, save your spatial edits by clicking on the “Save Changes” button. To discard your spatial edits, click on the “Cancel Spatial Edit Mode” button. This will exit spatial edit mode and discard all changes.
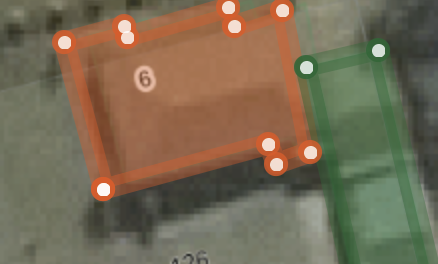
Polygons
- Enter Spatial Edit Mode.
- Click on the “Add a Polygon” button.

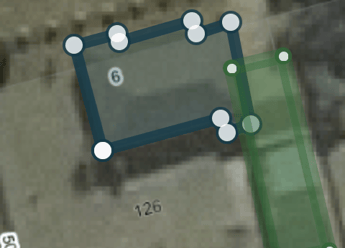
- Draw a polygon by clicking to place nodes where the corners of the polygon are to be. Double click on the last node to complete the polygon.
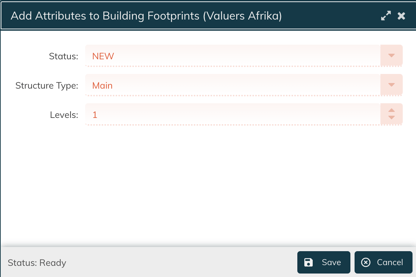
- A window pops up. Complete the relevant attribute information fields, and click Save.
- Once you are finished editing, save your spatial edits by clicking on the “Save Changes” button. To discard your spatial edits, click on the “Cancel Spatial Edit Mode” button. This will exit spatial edit mode and discard all changes.
Editing Spatial Objects
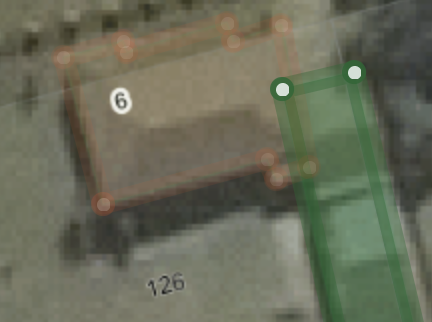
Editing nodes
- Enter Spatial Edit Mode.

- Click on the Edit button, the one that looks like a pencil.
- To move a node, click and drag the node to where you want it.
- Once you are finished editing, save your spatial edits by clicking on the “Save Changes” button. To discard your spatial edits, click on the “Cancel Spatial Edit Mode” button. This will exit spatial edit mode and discard all changes.
Moving objects
- Enter Spatial Edit Mode.
- Click on the “Move Feature” button.

- Select the feature you want to move, and move by clicking and dragging the feature to the desired location.
- Once you are finished editing, save your spatial edits by clicking on the “Save Changes” button. To discard your spatial edits, click on the “Cancel Spatial Edit Mode” button. This will exit spatial edit mode and discard all changes.
Deleting objects
- Enter Spatial Edit Mode.
- Click on the “Delete Feature” button.

- Select the feature that you want to delete. NB: If you have deleted something in error you can not reverse it but you prevent the error for being saved by clicking cancel.
- Once you are finished editing, save your spatial edits by clicking on the “Save Changes” button. To discard your spatial edits, click on the “Cancel Spatial Edit Mode” button. This will exit spatial edit mode and discard all changes.
Editing Attribute Information
Manually editing
- Ensure that the layer that you want to edit is active (The checkmark next to the layer name should be green).
- Click on the feature for which you want to edit attributes, and open the Active Layer attribute data window by clicking on the dropdown arrow or the Attribute Grid button.
- Click on the pencil in the Action field. This opens up the attribute grid, and allows you to edit attributes. Click save when you are finished.
- Editable attributes are indicated by a small pencil in the attribute field. Attributes can also be edited by clicking on this pencil and changing the value directly in the field.
Copy and replace attributes
- Use this when correcting street name data, where you want to assign certain attribute information to multiple features.
- Ensure that the layer that you want to edit is active (The checkmark next to the layer name should be green).
- Select the feature that’s attribute data you want to copy to other features. Press ALT+G on your keyboard to “Get” the attribute data or click the Copy button at the bottom of the map window.
- Select the feature(s) for which you wish to update the attribute data, and press ALT+R to “Replace” the attribute data or click the Paste button at the bottom of the map window.
Pro Tip: Select multiple items by holding down CTRL on your keyboard while selecting, or perform a radial select by holding down the CTRL button on your keyboard and clicking and dragging a circle radius on your screen.
Sandbox
Sandbox is a convenient way to try out editing a Point, Line or Polygon, attributing attributes to the entity you have created and testing out all these functions without affecting any of your live data.
These are the layers you would need:
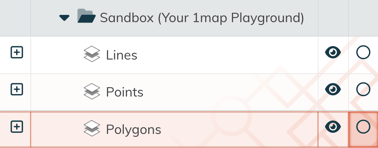
(If these layers don't appear in your workspace, go to Workspaces and make them visible.)
Make the appropriate layer active and try out what you have learnt in this article.