Follow the steps below to export the data that you require.
- Click on the Export button in the top menu bar to open up the Export Data wizard.
![]()
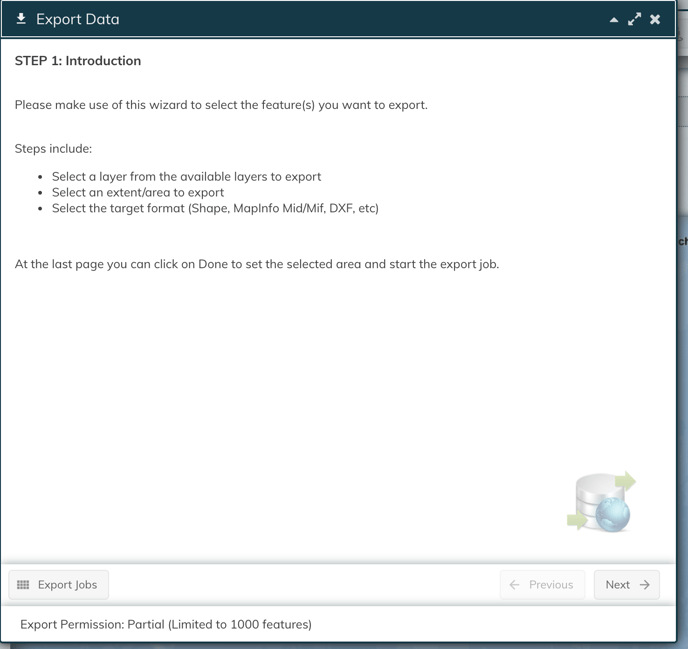
Start your export by clicking next.
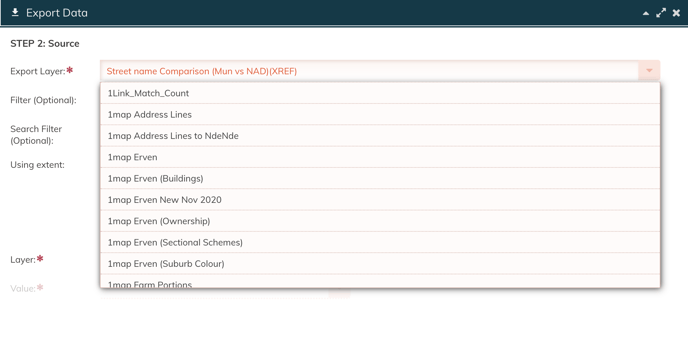
If you have already chosen an active layer when you enter this wizard, it will appear in the Export Layer field. If not, use the dropdown arrow to choose the layer from which you wish to export.
Select the layer from which you would like to export features.
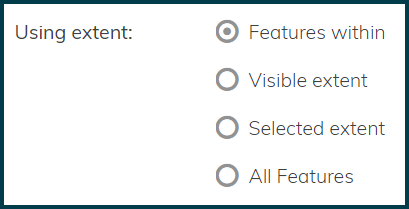
Choose the extent of features that should be exported.
There are four options for choosing the export extent.
- Choose a layer for which you will specify properties.
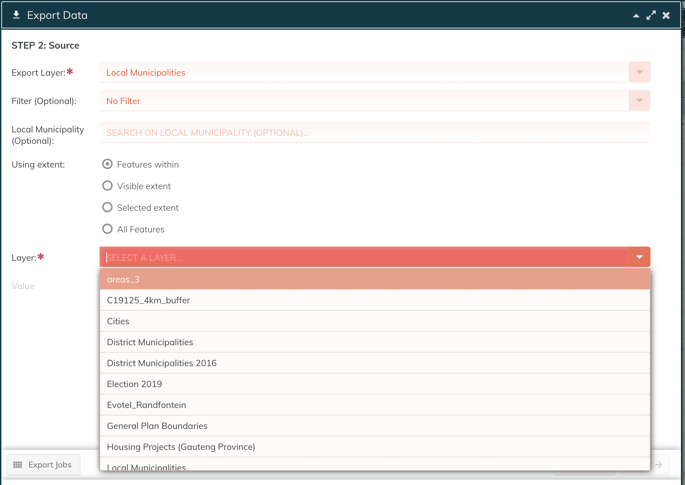
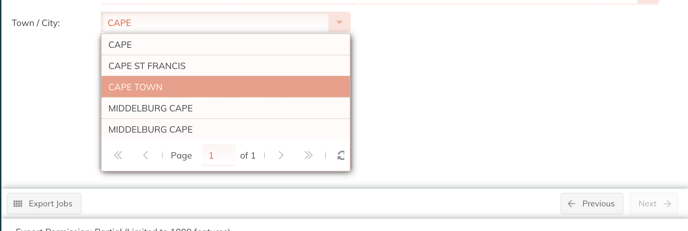
- Select a value or feature property by which your selection will be made.
- Pro Tip: Start typing in the selection box to search for results.
- Select the radio button next to the Visible extent option, and the menu will roll up and turn orange.

- Adjust the view in the map panel until you are satisfied. This can be done by panning, zooming, or even resizing the accordion menus.
-
Click the down arrow on the orange Export Data bar to roll down the export menu.
- Select the radio button next to the Selected extent option, and the menu will roll up and turn orange. An orange block will appear with orange circles on the corners.
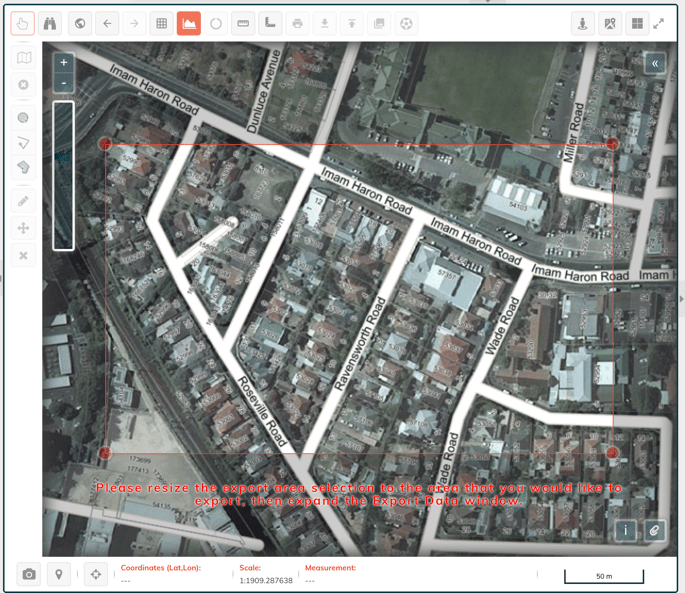
- Resize the block by clicking on the orange circles and moving them around.
- Click the down arrow on the orange Export Data bar to roll down the export menu.
4. All Features
This option will export all the features within the selected layer.
Once you are satisfied with the extent of features that should be exported, click the Next button.
Complete the following fields
- Type in a title for the export file to be generated.
Pro Tip: Type in a descriptive name such as the name of the area and the layer that you are exporting. This will enable you to find and download the export file again in future if you wish to.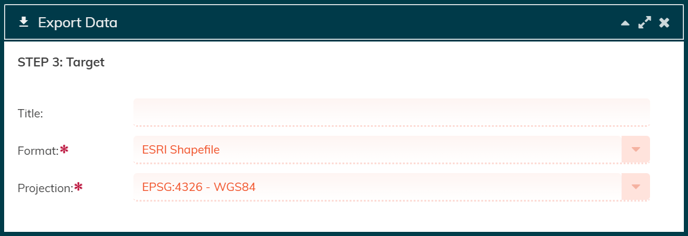
- Select the format in which you wish to export the features in. The following formats are available: ESRI Shapefile, MapInfo file, DXF, KML, CSV File, and MS Excel 2007+ (XLSX).
When selecting DXF, the user has the option of including a vector label in the object that gets exported. Select DXF, then select the font in which the label should appear, the size of the label, as well as the field that you would like displayed, e.g. erf number.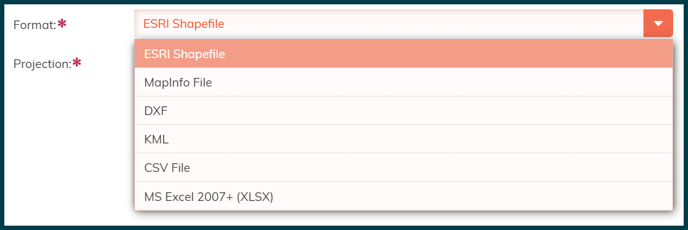
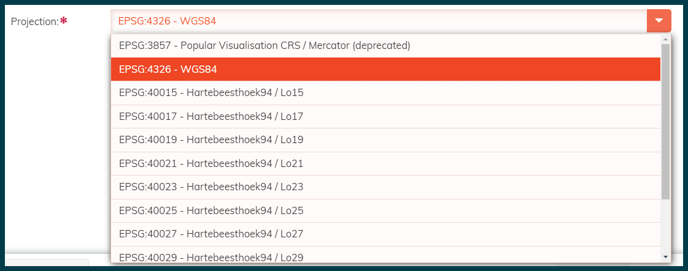
- Select the projection that you wish to export the file in. This will depend on the application for which you require the export. The default projection is EPSG:4326 - WGS84, which is the projection used by the Global Positioning System (GPS).
Click Next.
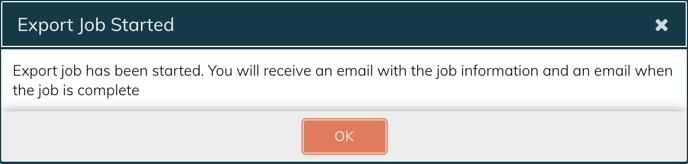
Click Done to start your export job.
A popup window tells you that your export job has started. You will receive an email with the download link to your export job once the server has finished preparing it.
Download your file.
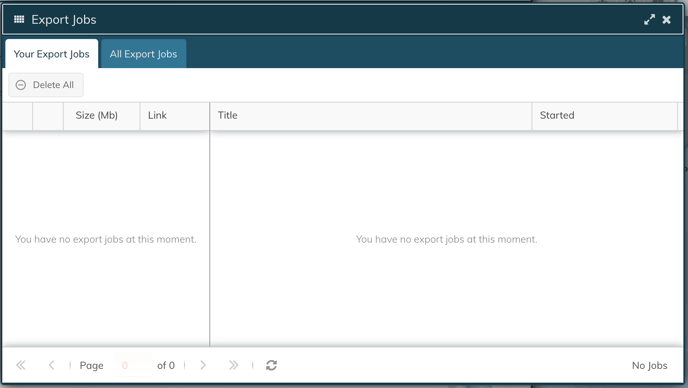
Click on the export icon again and track the progress of your job or download it from the Export Jobs screen, All previously exported files are accessible by clicking on the Export Jobs icon in the bottom left corner of the wizard screen.
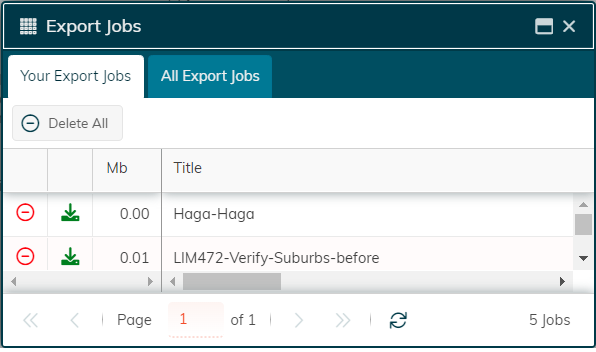
The green download icon next to the filename indicates that the export process has completed. Click on this icon to begin downloading it to your default download folder.
_____________________________________________________________________________________
reviewed: 2023-10-04 PGB